


What is a CCD camera?
A CCD (charge-coupled device) camera is an electronic imaging device used for capturing light and converting it into digital signals. It consists of a light-sensitive silicon chip, which absorbs the light from the object being photographed, and then converts it into an electrical charge that is sent to a processor. The processor then processes this data to create an image.
What are the benefits of using a CCD camera with a telescope?
Using a CCD camera for a telescope has several benefits:
- High resolution: CCD cameras are capable of producing high-resolution images that can be enhanced further with image processing techniques.
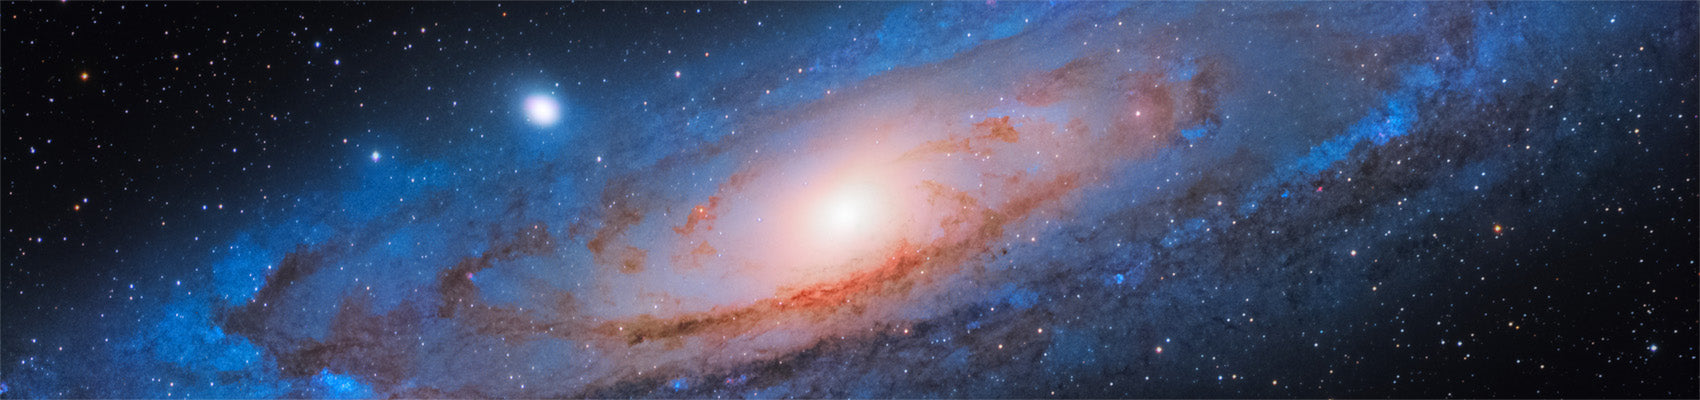
- Wide dynamic range: They have a wide dynamic range, making them ideal for capturing faint objects such as galaxies and faint nebulae.
- Low noise: CCD sensors tend to generate very little thermal noise, resulting in a cleaner, less noisy image.
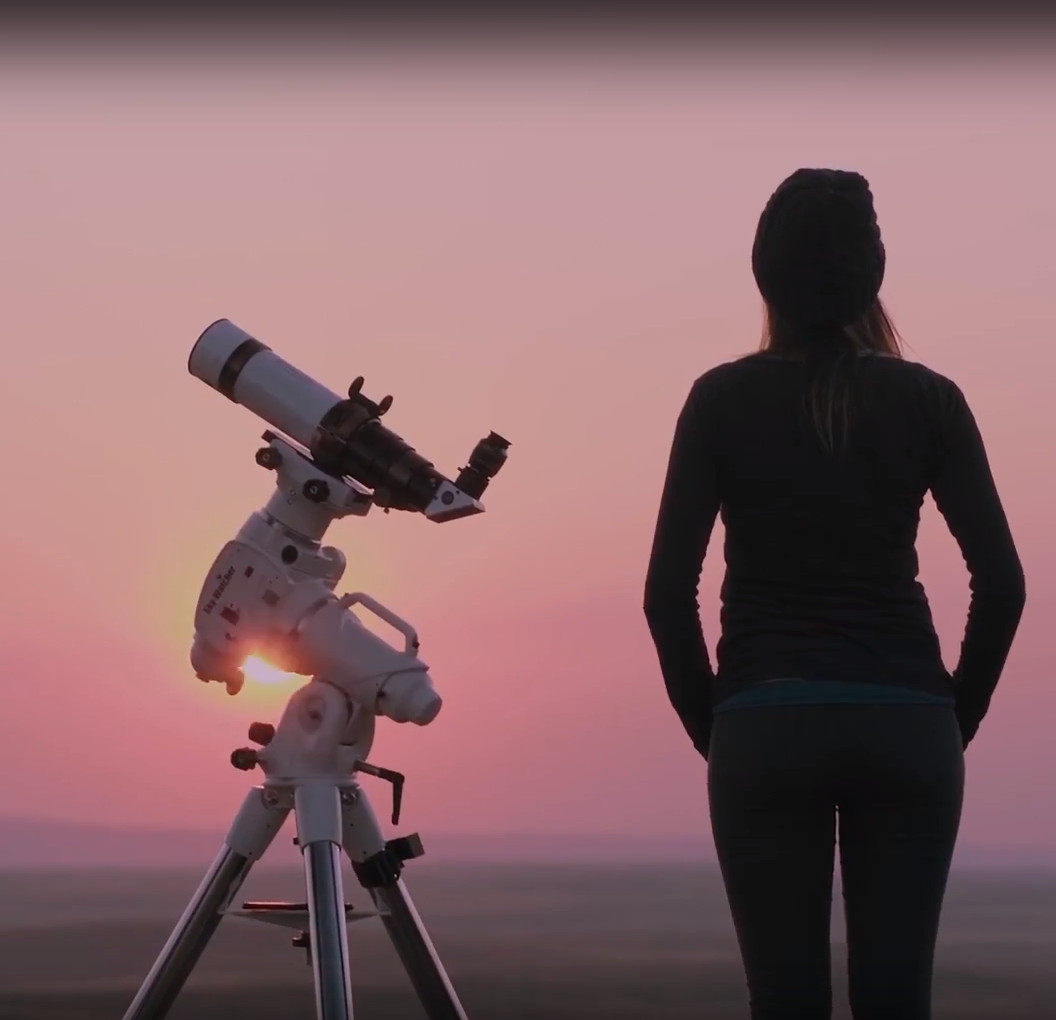
- Ease of use: An automated mount can be used to track the telescope's motion, eliminating the need for manual tracking.
How do I choose a CCD camera for my telescope?
Choosing a CCD camera for your telescope is an important decision, and there are several factors to consider when selecting the right one:
- Size & type of the telescope: Different cameras will perform better with different size telescopes, so it's important to ensure that you select a camera that is compatible with your model.
- Sensor size: The sensor size of the camera should be well matched to the optical system you’re using for optimal performance.
- Pixel resolution: Higher pixel resolution will result in sharper images, but larger file sizes can slow down imaging processing.
- Dynamic range and quality: Consider which dynamic range and image quality are needed for your desired application.
- Controls and software: Research what external control or guiding systems are supported by the camera and its software options.