


Example Deep Sky Astrophotography Setups from Beginner to Advanced
By Bray Falls, OPT Affiliate
With many brands to choose from for mounts, cameras, telescopes, power supplies, computers, etc., it gets a bit mind-numbing trying to find a good setup that you know will work. So I’m here to take off some of the mental effort and guide you in the directions of some good setups, from starting out all the way to advanced. For simplicity, I’ll split things up into four categories, beginner, novice, intermediate, and advanced. Chances are, if you’re an intermediate or advanced astrophotographer, you’ll already know exactly what you need, so we will be more heavily focusing on beginner stuff. Let’s get into it!
Beginner:
Let’s say you’re starting at square one, with no previous camera gear or telescope gear to speak of. You need to learn the basics and not get ahead of yourself. This hobby is expensive, and you do not want to waste your money, and the best way to guarantee that is to wait to upgrade until the gear is the limiting factor in your photography. If the only thing holding you back is your gear, then you will know exactly what to buy to upgrade when the time comes, but now is not that time!
There are four things you need for your first astrophotography setup:
- Camera
- Lens
- Ball head
- Tripod
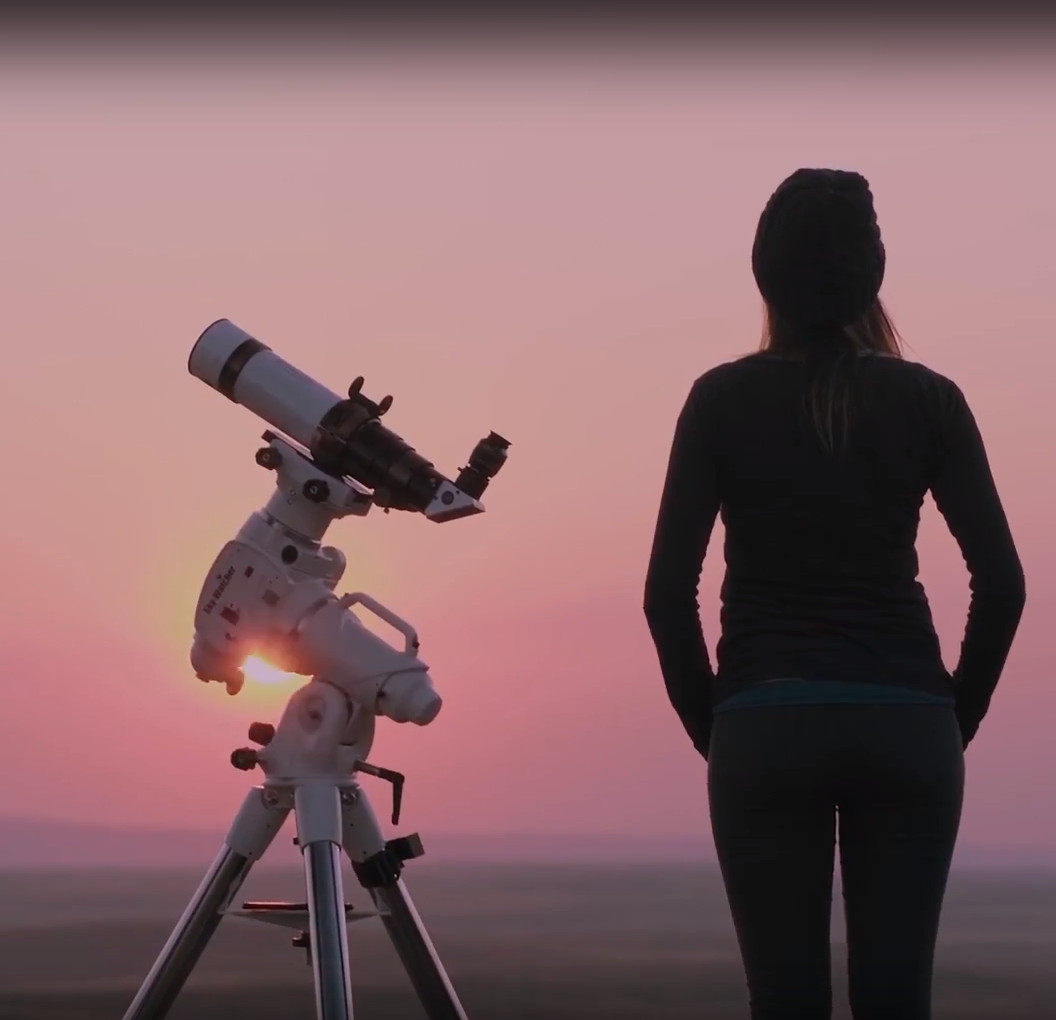
Depending on how much money you have to spare, you can go big or go small with this. There are a couple of key factors in deciding what’s right. First, you need a camera that has manual exposure settings, so that you can take exposures up to 30 seconds long. For the lens, a kit lens works fine, but I recommend a Rokinon 14mm f/2.8 for this kind of setup. You will be doing wide-field photography, so pick a lens that is wide and fast to collect more light. For the ballhead, pretty much any ball head works, I use an Oben BE117 ball head. Lastly, most any sturdy tripod will function, but if you want to purchase one to keep long-term, the Radian tripod is a great choice.
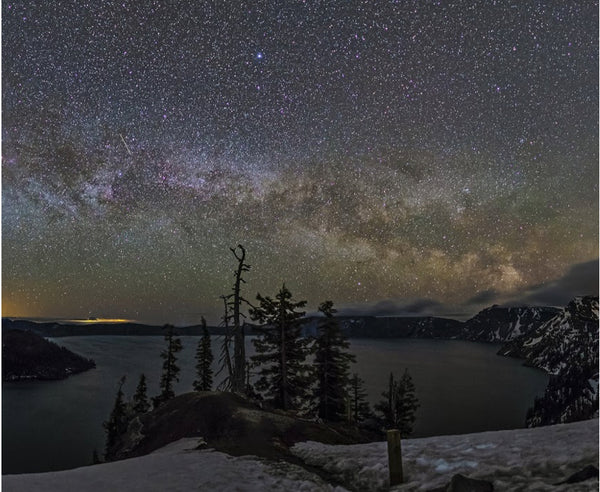
A simple setup like this can yield amazing results if you head out to dark skies on a new moon:

Novice:
So you’ve been using a beginner setup for a while now, just using a camera and a tripod. You will learn very quickly that your main enemy in taking good photos is the motion of the sky caused by the rotation of the earth. Every exposure you take will be under thirty seconds, heavily impacting your ability to reveal faint details with sharp round stars.
Luckily, all these problems can be solved just by using a tracker! This is the most important part of your entire setup, no matter what astro-setup you have. Trackers come in many flavors, optimized for different purposes. The best choice comes down to what kind of photos you are trying to take, so this section will focus on some good options.To summarize, here are the main components of a novice astrophotography setup:
- Camera
- Lens
- Mount or tracker
SkyWatcher Star Adventurer or iOptron SkyGuider Pro
Suppose you were coming from a beginner-setup, with only a camera and a tripod. In that case these will both be a single purchase you can make that will instantly improve the quality of your astrophotography. You will need to learn how to polar align, this article helps outline the procedure. After learning this, you will be able to expose for multiple minutes with your widefield lenses, opening up a whole new world of targets you can shoot.Small sky trackers like this are best used with shorter or medium focal length lenses. They are not intended for use with telescopes, nor are they fun to use with telescopes mounted to them. That being said, even if you are an advanced astrophotographer, they are excellent to use for wide field photography and make a perfect complementary setup to mess around with while your main telescope is shooting. I’ve even snagged an APOD shooting with nothing but a 135mm lens, DSLR, and a Star Adventurer:

Computerized GEMs
| My number one recommendation for a first EQ mount is the EQ6R-Pro. The EQ6 design has been around for a long time, and it is definitely battle proven. The wide customer base for this mount also means you have unlimited resources to draw upon for troubleshooting. Most of my early images were shot with a used 10 year old orion atlas mount (a clone of the eq6 design) and it performed like a beast. | |
| This is the baby version of the EQ6R, with slightly less payload capacity. It will operate almost identically to the EQ6R so it is my #2 recommendation. | |
| This is a lightweight Celestron mount that is similar to the HEQ5 in payload capacity. Tracking performance is not as good as the EQ5 and EQ6 designs, but this mount is also battle tested and widely used in the astrophotography community. | |
| This is a good beginner mount which I really like because of its small size and light weight, while still having a 27lbs payload capacity. |
Here are some example setups that I would choose from these options:
| Widefield Setup | Widefield with Plans to Upgrade |
| Camera: Canon 6D Lens: Rokinon 135mm f/2 Tracker: Skywatcher Star Adventurer 2i Pro Pack Tripod: Radian tripod Ball head: Oben BE117 Total cost: ~$1900 Less expensive, but won't support a telescope if you upgrade. Still great to have even if you are an advanced astrophotographer. | Camera: Canon 6D Lens: Rokinon 135mm f/2 Mount: Skywatcher EQ6R-Pro Camera to mount adapter: ADM V Series Dovetail Mount Total cost: ~$2700 More expensive but you don’t need to pay to upgrade your mount later if you want to use a telescope (you’ll want to use a telescope trust me). |
Here is an image I captured using a DSLR, lens, and Paramount MyT:

Intermediate:
Here are the components of an intermediate astrophotography setup:- Camera
- Telescope
- Mount
- Autoguiding
If you’ve had enough of shooting widefield, and are ready to get more focal length on target, then it is time to upgrade to an intermediate setup. This will present a couple of interesting challenges, both in changing how you capture images and what gear you will select.
You will, of course, need to pick a good telescope for more focal length, an autoguider to get sharp exposures, and most important of all, you will need a good mount to support it all. If you were using a novice setup described above with a good equatorial mount, congratulations! You don’t need to spend money on a mount to move to the next rank. You will however still need a scope and an autoguiding setup. Since I already recommended some mounts in the last section, this section will stick to telescopes, autoguiding, and some example setups with everything you need.
Telescopes:
To keep things simple, please do not consider getting a reflector (SCT, Newtonian, etc.) as your first telescope if you are shooting deep sky astrophotography (the story is different for planetary). It is often more pain than it is worth to use these telescope designs. The best scopes to get at an intermediate level will be small-medium sized refractors. Here are some options:
| Radian 61 | This is a short 275mm focal length refractor that is a great choice as a first telescope. It supports a full frame sensor. It won’t require the purchase of a field flattener since it is a quadruplet design. |
| Orion ED80t-cf | This is a 480mm focal length triplet refractor that is a great starter option. It supports up to a crop sensor for imaging. It does require the use of a field flattener which will run you about $150. |
| Skywatcher 80mm Esprit | This is a good refractor with a 400mm focal length, and a pretty fast f-ratio of f/5. This will support a full frame camera, but does require a field flattener. |
| Skywatcher 120mm Esprit | Similar to the other options, a quality refractor with slightly more aperture and a focal length of 830mm. A field flattener is required. |
To go along with a telescope, you are going to want an autoguiding option to ensure you have sharp images. Picking an autoguiding setup is complex, luckily I already wrote an article on this topic you can find here.
For an intermediate setup using a DSLR, I am going to recommend using a guidescope:| ZWO f/4 miniguide 30mm | A small focal length guide scope which is easy to set up, and wont induce much flexure on your system. |
| ZWO ASI120mm mini | A good budget guide camera that pairs nicely with most guidescopes. |
| ZWO ASI290mm mini | A great guide camera that is more sensitive than the 120mm. A good option to consider if you want to use an OAG down the road. |
Using a small guidescope like this along with a good set of tube rings, dovetail bars, and adapters, you can avoid the problem of flexure caused by a larger guidescope. I strongly recommend reading the above blogpost to learn more about selecting a guide setup. Here are two complete setups I might recommend with these options:
| Radian 61 Setup | 80mm Refractor Setup |
| Camera: Any DSLR (Canon 6D for example) Telescope: Radian 61 Mount: Skywatcher HEQ5 Guide scope: ZWO Miniguide Guide camera: ASI120mm Total cost: ~$3,000 A good lightweight setup that is easy to use and good for wider images of nebulae or mosaics. | Camera: Any DSLR (Canon 6D for example) Telescope: Skywatcher 80mm Esprit Mount: EQ6R-Pro Guide scope: ZWO Miniguide Guide camera: ASI290mm Total cost: ~$4,500 A heavier setup with more focal length, with a mount and guide camera that are upgrade-proof if you intend to use a bigger scope or OAG. |
Here is an example image using a refractor and DSLR:

Advanced:
Here are the base components of an advanced setup:- Astronomy camera
- Filter wheel
- Filters
- Telescope
- Mount
- Autoguiding
- Autofocuser
- Computer
For an advanced setup, your goal will be to totally automate your capturing process, and to step upwards to a dedicated astronomy camera. Automation is important because it will allow you to capture quality data while sleeping, making it easy to acquire large amounts of images. The critical components for automation will be an autofocuser, and some type of control computer.
Autofocusers:
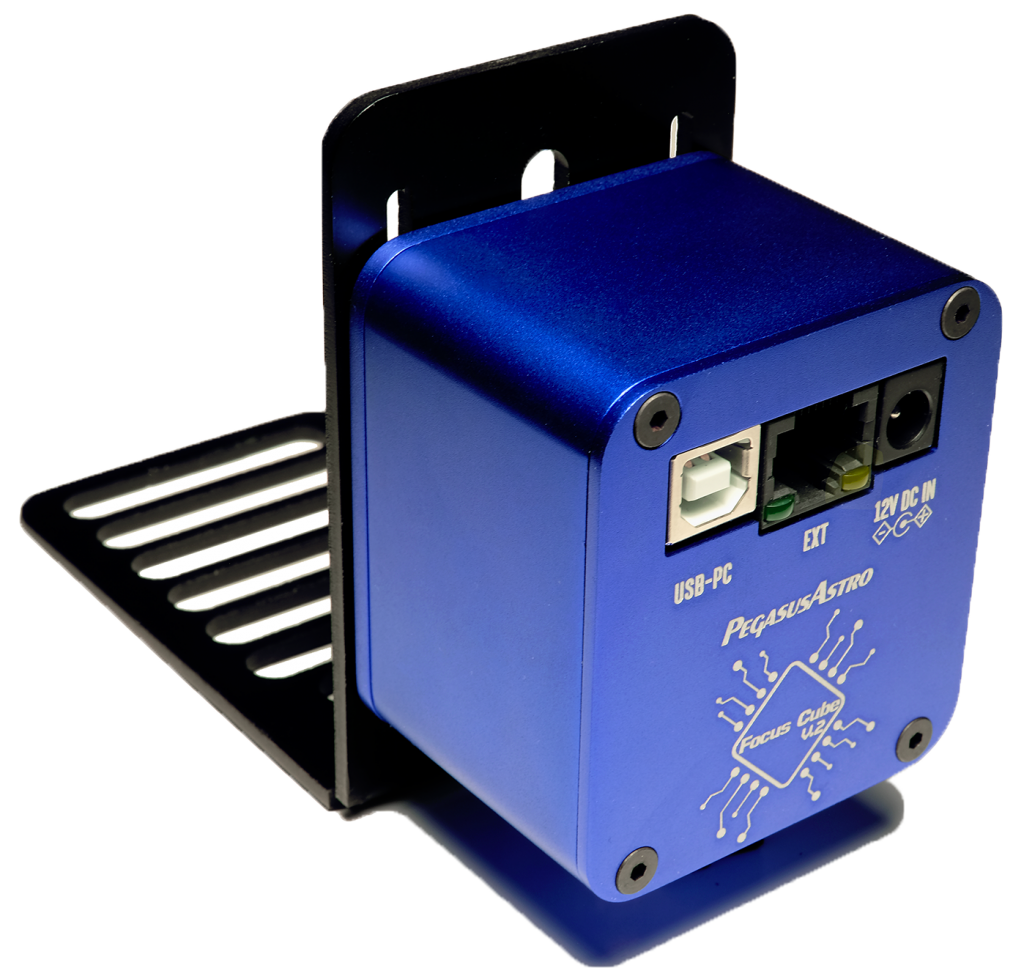
There are many options for autofocusers out there, and the best option depends on a couple of things. There are two kinds of autofocusers you can purchase, those that add a motor to your existing focuser, and those that completely replace the focuser assembly on your telescope.If you have a very heavy camera, and your existing focuser can barely support it, then you will want to upgrade to a whole new focuser. Something like the PrimaLuceLab ESATTO 2” or a 2” moonlite auto focuser are good choices. If you are using something like a QHY600 as your camera, you will greatly benefit from a solid autofocuser.
If you are using a more modest camera, like an ASI1600 or DSLR, then you may be able to purchase a focus motor for your existing autofocuser. This will be a less expensive option. Something like the ZWO EAF will function well.
Astronomy Cameras:
A good dedicated astrophotography camera will really improve your image quality, especially if you live somewhere hot. Astronomy cameras allow you to control sensor temperature, as well as shoot in monochrome for more detail and sensitivity.
There are two main types of astronomy cameras, CCD and CMOS. It is fair to say at this point in the hobby that CCD cameras are worse than CMOS cameras in most aspects for astrophotography. CCDs are much more expensive without offering better specs. For that reason, I strongly recommend getting one of the newer CMOS cameras.
You also must decide whether you want a one-shot-color camera or a monochrome camera. For an advanced setup, I would say it is necessary to be able to capture full narrowband images, which is best done with a monochrome camera. Monochrome cameras will also provide more resolution and sensitivity. Here are some good options:| This is a classic CMOS camera that is widely used in the astrophotography community. It has a relatively large sensor, and small pixels that pair well with short to medium sized refractors. The kit simplifies things since it comes with filters and a filter wheel. | |
| This is another ZWO CMOS camera that is a bit more versatile than the 1600, but more difficult to use. This camera has a good sized sensor, and very small pixels. Paired with a good download rate, this camera can be used for both deep sky and planetary, but you need to use proper calibration frames since it has a lot of amp glow. This will also need a filter wheel and filters. | |
| ZWO ASI2600MM Pro | This is a CMOS camera with a large APS-C sized crop sensor. This lets you take advantage of your telescope’s imaging circle with a 26 megapixel sensor. This is a really good option, but keep in mind that you will need to budget in a larger filter wheel and larger filters. |
| ZWO ASI6200MM Pro | If you have a large budget and want the best images possible, this is the choice for you. This is a full frame monochrome camera, with a 64MP sensor. This will need a large filter wheel and large filters. |
Filters:
Since I’ve recommended monochrome cameras, that means I must recommend some filter options to go along with them. If you’re just getting into shooting monochrome, you can’t go wrong with purchasing the filters that come with the camera kits, like the ZWO ASI1600MM pro kit.
If you’re looking for filters that are higher quality, I always recommend going with Chroma filters. They are more expensive, but they are the best and will give you really amazing images.
Computers:
Last but not least, you need a computer to automate your whole setup. You have three main options to go with here, a laptop, a ZWO ASIAIR, or an Eagle computer. Both the ASIAIR and Eagle are computers that will mount to your telescope to automate your setup. The ASIAIR will not run windows, however.
The on-scope computers are great for cable management and draw less power than a traditional computer. I have not personally used either, because I tend to use a regular laptop for simplicity. If you are looking to run your gear off of a laptop, it doesn’t need to be beefy. Just make sure you have ample USB ports for your equipment. I would recommend at least 8gb of ram, and any kind of laptop with SSD storage.
With all these thoughts in mind, let me recommend you some good advanced setups:
| Small | Medium | Large |
| Astronomy camera: ZWO ASI 1600 pro kit Filter wheel: EFW from pro kit Filters: From pro kit Telescope: Radian 61 Mount: HEQ5 Autoguiding: ZWO Miniguide + ASI120mm Autofocuser: Radian Autofocuser Computer: Laptop Total Cost: ~$5,000 | Astronomy camera: ZWO 2600mm Pro Filter wheel: ZWO 36mm 7 position EFW Filters: Chroma LRGB-SHO Telescope: Esprit 80mm Mount: EQ6R Pro Autoguiding: ZWO M68 OAG and ASI290mm Autofocuser: ZWO EAF Computer: Laptop Total Cost: ~$10,000 | Astronomy camera: ZWO 6200MM Pro Filter wheel: ZWO 7x2” EFW Filters: Chroma 50mm LRGB-SHO Telescope: Skywatcher 120mm Esprit Mount: Skywatcher EQ6r-pro Autoguiding: ZWO M68 OAG and ASI290mm Autofocuser: Moonlite Nitecrawler Computer: Laptop Total Cost: ~$19,000 |
As you can see, things can get rapidly expensive when we start adding on astronomy cameras, filters, autofocusers, etc. Don’t let this discourage you, automation is still possible using a DSLR, and you don’t need every single component here to get your feet wet with automation.
Here is an image captured with an advanced setup:

Summary:
Try not to feel overwhelmed by the large amount of information and gear recommendations here. Take a step back and keep in mind that if you upgrade in baby steps and learn the limits of your equipment as you go, you can make much more educated decisions about what to buy. This will save you money and help you take better pictures in the long run. For example, shooting untracked shows you the need for a tracker. Shooting with just a tracker and lens shows you the need for a telescope and good mount. Using a telescope and a good mount will show you the need for autoguiding, then mono astro cameras, autofocusers, etc.No individual piece of gear in an astrophotography setup is complicated. The confusion with gear selection happens when you start trying to put all these pieces of gear together at once. Taking things one step at a time and learning the purpose of each piece of your equipment will make the learning experience of this hobby much more simple.
You do not need to get the highest-end gear right away to take amazing photos. You can do that every step of the way along with your progression. Slow is smooth, and smooth is fast!
If you’re looking for more resources to help guide you along the way, you can check out our "Building an Astro Rig" YouTube video, which has plenty of good information. I also have a quiz on my website that can help you pick a telescope depending on your budget and what you want to do.
7 Responses
Jeff
Thanks – good info. I’ve done the dslr + MSM and am looking for the next steps. I don’t understand why you need a guide scope. If you have a telescope with a search option you don’t need one, correct? But would you need the tracker? Is there an all in one option?
Jeff Perry
Another excellent review/informative post! I am new and want to jump to novice/intermediate and still use my Cannon M6 Mark 2 mirrorless. can this be subbed for the DSLR Cameras?
thanks,
OPT
Hey Slim! Thanks for your feedback and that suggestion. Even though some of the gear mentioned is currently on extended back order, our stock is constantly changing, so we decided to publish this blog anyway since we know this will change in the future! If you are looking for a setup of your own, our team would be more than happy to help you with an in-stock setup here: https://optcorp.com/pages/contact-us
OPT
Hey Tom, we are glad you enjoyed it. Clear skies!
Slim Lemon
Nice review…but I have a challenge for you:
Re-write it, but omit all the items that you recommend that are currently on “extended backorder”.
Or, better yet (an even bigger challenge), re-write it, and only recommend items that are currently available to purchase.
Tom Victor
Excellent review!


Ray Reed
December 24, 2023
Hi! Just writing to let you know that this is the article that first sparked my interest in astrophotography! I am now in advanced setup territory and have found so much joy in this amazing hobby! Thanks for playing such an important role in that😃